
Welcome to the Feeling Sketchy Design Team
Christmas blog hop!
If you are starting here then you
might want to start back at Feeling Sketchy .
I'm so excited to share my projects.
For my first project I made a card using our current sketch at Feeling Sketchy (sketch #73)
I used a light green cardstock that I embossed with a snowflake pattern.
I then stamped on Christmas Trees and Stars using a stamp set from Close To My Heart.
I added sparkles around the stars and the trees.
I distressed the edges and sponged on red ink...and I also sponged the red ink around the edges of the base of the card.
I cut out Merry Christmas using my Cricut machine....added more star sparkles around the main tree image. Then added a green bow up the right edge of my image.

For my next two projects I made a gift card holder and a little gift box.
We have friends that live about 75 miles away from us and every year we always include a gift card to each other...either for a place to eat, or for Caribou Coffee.
I used Christmas cardstock, added a snowman sticker on it, and then stamped on Merry Christmas, then I added a white border around it.

For my little gift box...I cut it out using my Cricut machine again.
I used Christmas cardstock, added a name card to it using the same cardstock, then I used some twirly ribbon to cover up the gifts in the box (earrings and a necklace.)

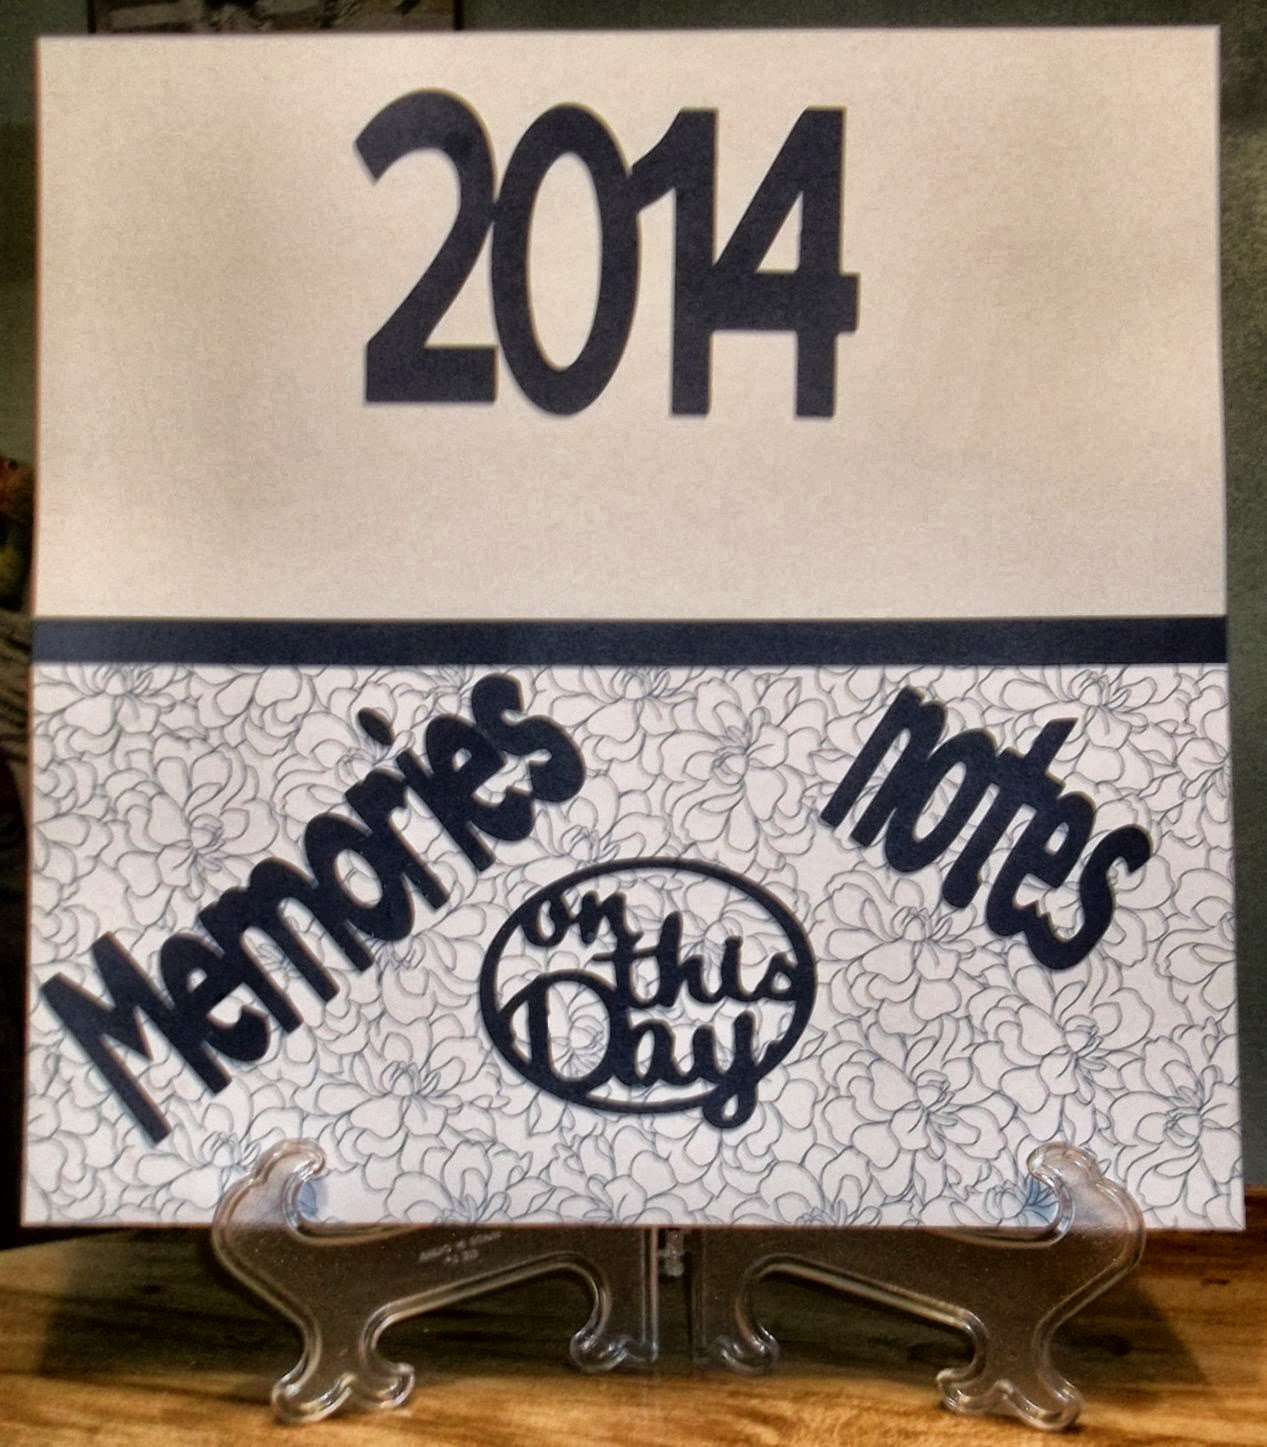
For my last project (it does not look like Christmas - but it is something we do every year and go through it on Christmas Day.)
Every year on New Year's Day we start this...
then the following Christmas Day we open it and go through it.
I used a 12x12 heavy cardstock for my base.
Then used another 12x12 cardstock folded in half to form the bottom "pocket".
I glued the edges really good to the main base...added the year on top, then on the bottom added "notes, memories & on this day. I also added a strip to the top of the bottom pocket.
Every New Year's Eve before we go to bed, I fold the top of this over and tie it up and stick it in the drawer.
Then on Christmas Day the following year we take it out and "re-live" the previous year.
On New Year's morning we start again for the year.
During the year we use this to add events that happen, notes to each other, special occasions & even sad occasions.
I keep this on a table in our dinning room along with a box of note paper and a pen...and we add things to it all year long.
When all is done, be sure and check back with Feeling
Sketchy at
for a wonderful giveaway on their
blog.

PLUS:
I will be doing a drawing from the list of those who leave a comment here.
I will be giving away a bag of embellishments.
Thank you for joining our blog hop!
I put all the names in a bowl with a cover, and shook it up really good.
The name I drew is:
Libby
Congratulations Libby!
Could you please email me at: jdmfreed@gmail.com
With your name and address so I can mail it out to you.
Thanks Libby,
Debbie
Thank you everyone for all of your wonderful comments!
I really appreciated them all :-)
With your name and address so I can mail it out to you.
Thanks Libby,
Debbie
Thank you everyone for all of your wonderful comments!
I really appreciated them all :-)
Great Chrissy projects Debbie.xo
ReplyDeleteDebbie I just love your christmas tree card ,those little trees just pop off the page .The memory box is a wonderful idea and it's so easy to do .I hope it's filled with more highs than lows next time you go through it.
ReplyDeleteLove your family tradition note book, what a wonderful idea (I might have to try this)!
ReplyDeleteLovely projects Debbie
ReplyDeleteSo bright and cheerful Debbie - makes me feel like Christmas!
ReplyDeleteReally lovely, how did you (or where did you) get the Merry Xmas stamp. I want one :)
ReplyDeleteIf you are talking about the Merry Christmas stamp on the gift card holder...I got that stamp at Crafts Direct craft store.
DeleteIt's in Waite Park, MN (St.Cloud, MN.)
I don't know if there are any other Crafts Direct stores.
Beautiful cards and gift bag! How cute! And wonderful family traditions book too! :)
ReplyDeleteSuch beautiful work love your ideas :)
ReplyDeleteTerrific projects.
ReplyDeleteDebbie, these projects are so amazing! My fav is that gift card holder...too cute! :o)
ReplyDeleteWow beautiful. Love the trees with the glitter around them. Can't wait to use mine too.
ReplyDeleteChristmas preparations look so wonderful Debbie.The little gift bag is cute.
ReplyDeleteDebbie, these are just wonderful. I love the idea of leaving notes for each other and recording memories throughout the year. What a wonderful way to cherish your family. I love the card with all that bling. TFS
ReplyDeleteGorgeous projects, Debbie! I love your gift box with matching tag. Thanks for the inspirations :)
ReplyDeleteWhat a lovely idea of your card holder Debbie, & with a beautiful Christmas image on the front. Love that gift box..and thank you for the instructions too.
ReplyDeleteLovely project Debbie.
ReplyDeleteGr Elly